The Wilderness Wife Blog is a lifestyle blog.
It's a blog written for families and is full of recipes, holiday ideas, family fun, pets, and info about our home state of Maine. Sheryl, the family matriarch, has years of experience as a working wife and mother and wants to impart what she has learned to young families and especially working moms, giving them resources to use on their journey through this life.
Join us in our adventure in the Maine North Woods at The Wilderness Wife Blog
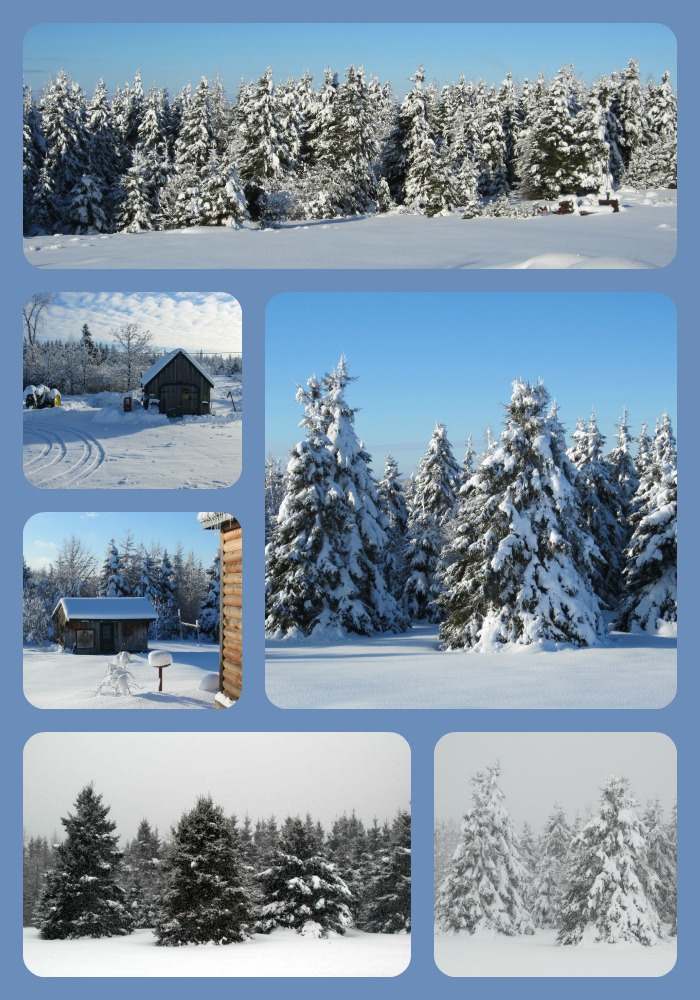
Welcome to The Wilderness Wife Blog! It's so nice to have you drop in for a visit! Let's sit down at the kitchen table, have a cup of coffee, and chat. The Wilderness Wife Blog is a lifestyle blog about the things that we, the Thompson family, enjoy and places we love . The Wilderness Wife contains great family recipes, gardening hints, crafts and art projects. It also is about our life here in the Maine North Woods where we live in the shadow of Mount Katahdin, the northern terminus of the Appalachian Trail. We're active on social media so you might like to follow us on Facebook, Twitter, Pinterest, or Instagram so we can stay in touch!
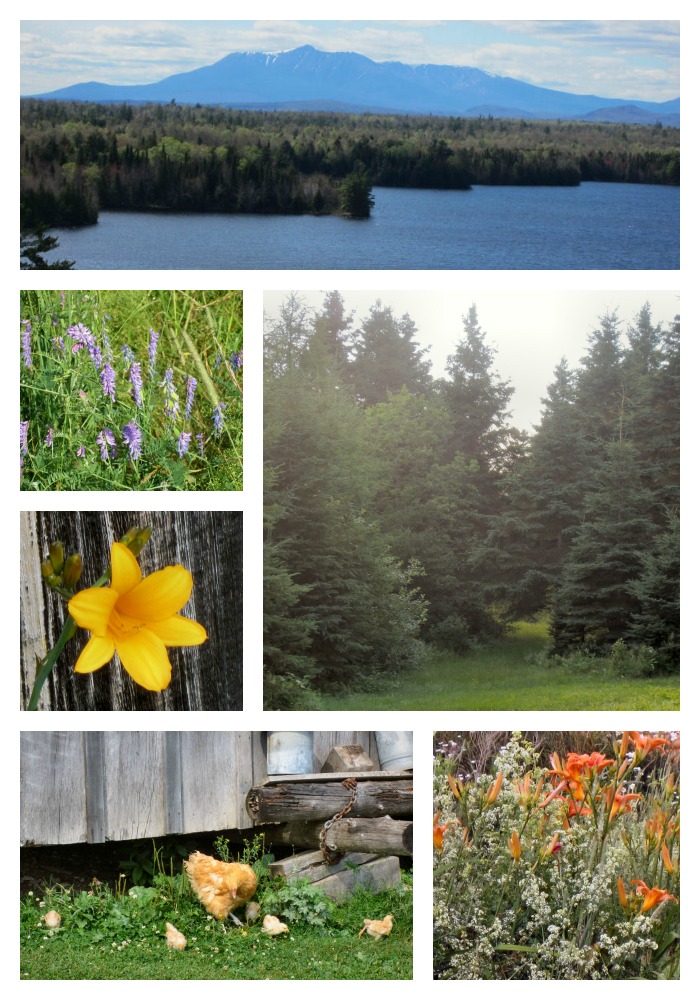
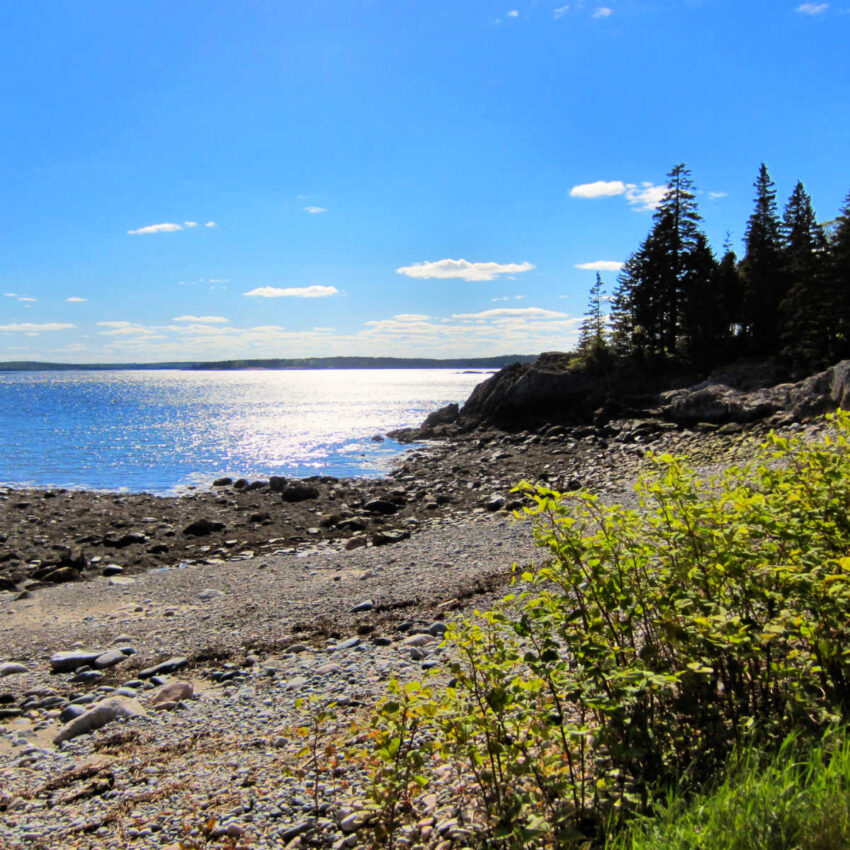
Maine is an amazing and beautiful place!
Sheryl and Doug are not a native Mainers. Daughter-in-law Lynn is Maine born and raised. Sheryl and Doug moved here 25+ years ago. They are native New Englanders growing up in New Hampshire and having lived here in New England all their lives. We can't imagine living anywhere else. New England is part of us, be it the history, the cuisine, the culture. It is truly a melting pot where immigrants from many cultures have come and woven there lives into the fabric that is this region. We are looking forward to sharing our New England and particularly Maine and New Hampshire with you. So welcome and please explore the navigation bar/menu you see at the top of the this page. It's Maine, "the way life should be"!!!!!

joyce says
Your story was so interesting, I felt like I was reading a book-I wanted more. Your home was just lovely and I love Maine